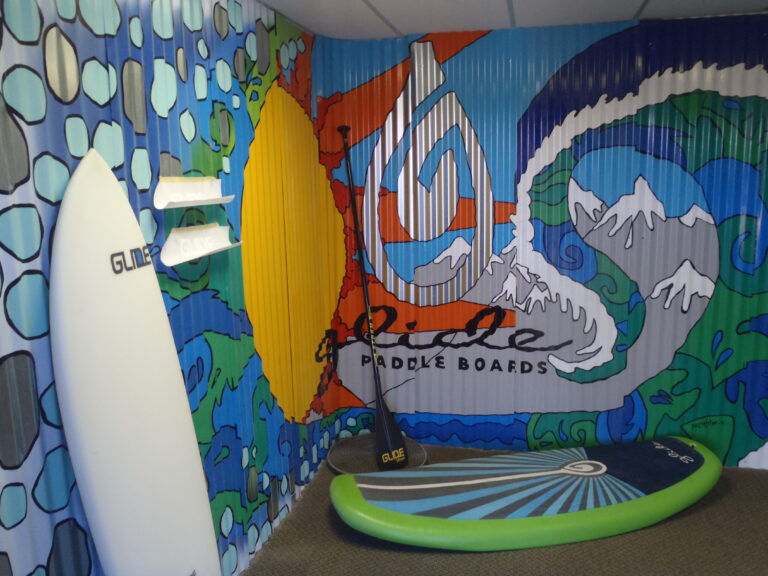
Factory Spotlight: Glide Paddleboards – Made in USA
The Glide manufacturing facility is located in Salt Lake City, USA. On a recent trip I was lucky enough to get a brief tour and see how the boards are made! Scroll down through the pictures as I will have caption for each image to describe the process. Come on in and see how the nicest SUPs are made! It all starts with these large foam blocks. Sourced locally from another SLC manufacturer. These large blocks are sliced up to make many SUPs. Any and all scraps from this process are piled up and donated back to the local foam factory for them to re-use. This is their CNC (Computer Numerical Control) machine. It uses lasers to cut away excess and leave the board shape. They will do a batch of top sides, then take the time to reset the CNC and later do a batch of bottom sides. When they come…
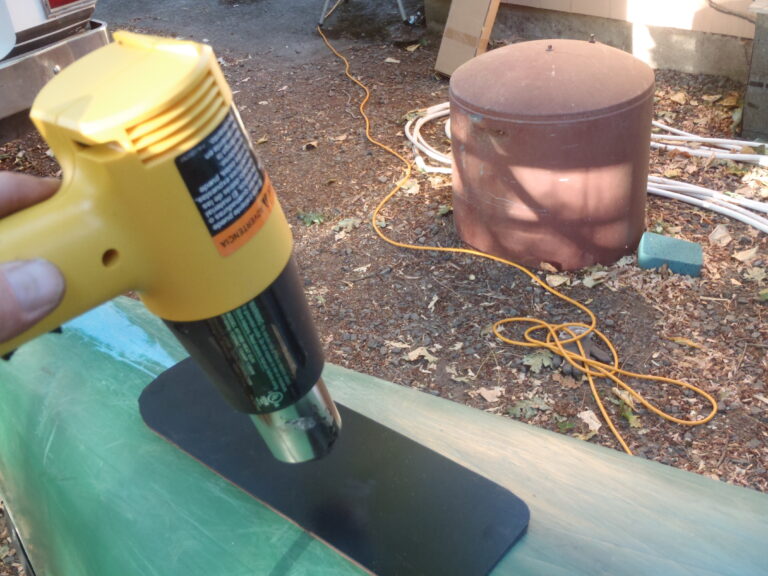
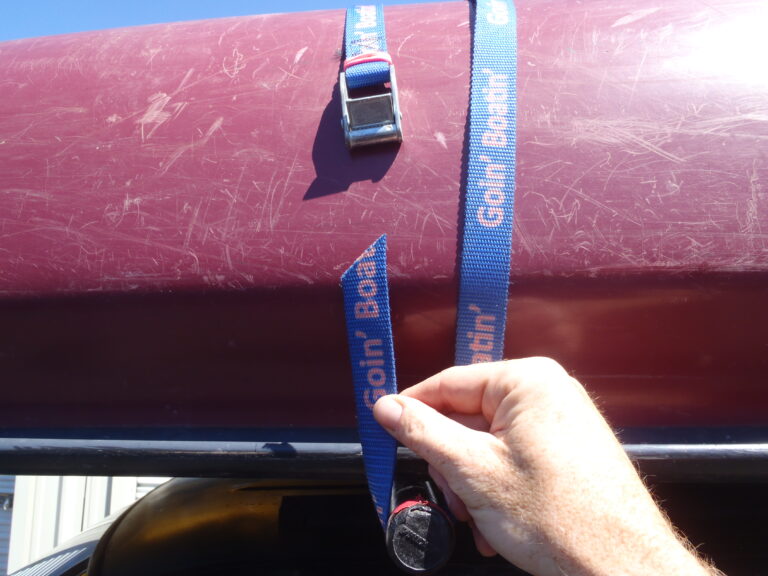
Using Patch-n-Protect to repair canoes.
This is a great material to work with. A pair of scissors will trim to desired shape. Use a heat gun to warm it up so that it becomes pliable. Peel off plastic film to reveal the sticky back surface. Apply the patch and massage into the repair zone with a leather glove. Heat and rub it in cautiously to finish. Or course you want to have the surface clean for best results. Vinyl Gunwale Avulsion Finished result with the thinner Patch N Repair material. Tools needed This Wenonah Champlain canoe needed some vinyl repair and now it’s sealed nicely. It will surely get more years of use now that this ugly damage has been patched. This is a quick and easy repair to do. This Bell Yellowstone canoe was wearing a bit thin before adding Patch N Protect. Looking much more protected. If you are interested in ordering you can…
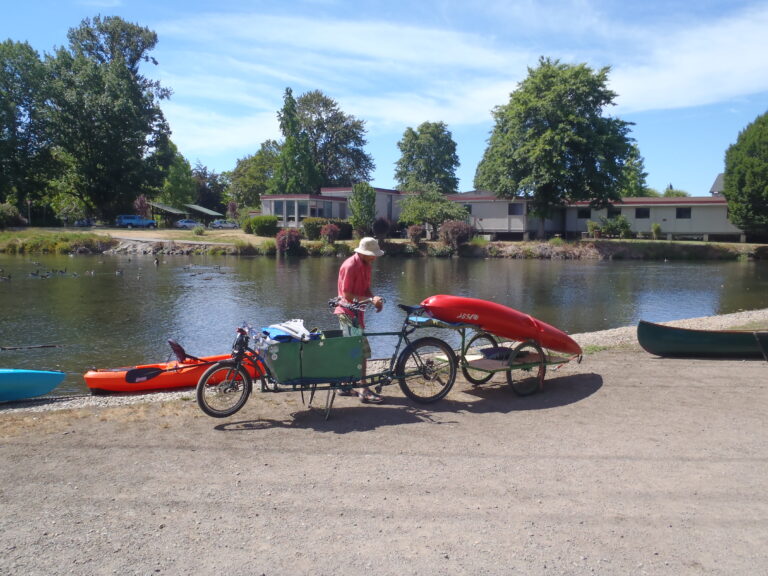
Kayak Bicycle Trailer
We had a local paddler come down to the Canoe Canal the other day and load up his kayak onto his custom made bicycle trailer. This is such a great human powered way to go boating. Kudos to this gentleman for keeping out air cleaner by pedaling and not polluting! Loading the kayak onto the trailer.
Esquif Blast Outfitting
From left to right, the removable bow saddle (held down by the purple strap), the extra wide solo saddle (glued in with contact cement), and the stern saddle (also glued in). When paddling this boat solo, simply stow the bow saddle under the bow float bag. This gives the paddler more cockpit space. Paddle this boat until you find a willing partner and take 1 minute to install the bow saddle with the straps! Another angle… Here is a close up of the solo setup. You can see the Northwater toe blocks, which have 5 settings for adjustability. The saddle was glued to become larger, then carved with a bread knife, rasp then sandpaper. This makes for a comfortable seat during the flat paddling sections. There are 5 Northwater anchors installed as well. This was done by pre-sanding the canoe, then cleaning the area with isopropyl alcohol, applying vinyl adhesive, and…
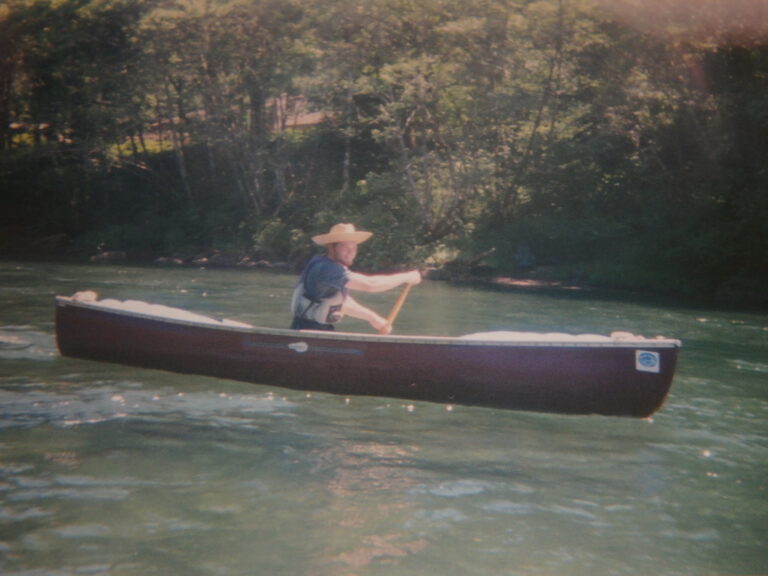
Triple saddle in an open canoe
A triple saddle can be very advantageous in the right boat. It allows you to paddle the canoe solo by sitting in the middle, or tandem by sitting in the bow and stern. These photos show a Blue Hole Sunburst that is around 14 1/2 feet long. Anything larger would be a chore to paddle solo and too much smaller would be a squeeze for two people. All saddles make for a comfortable and high performance seat. This example shows a system that features a removable front saddle, one that is clipped and strapped in. You can easily take the front saddle out for the solo setup and then have more room and workspace in front of you. See the Esquif Blast Triple Saddle Post HERE! This is nice for bailing water out, as well you will then still have space to lean forward to set up for a roll…
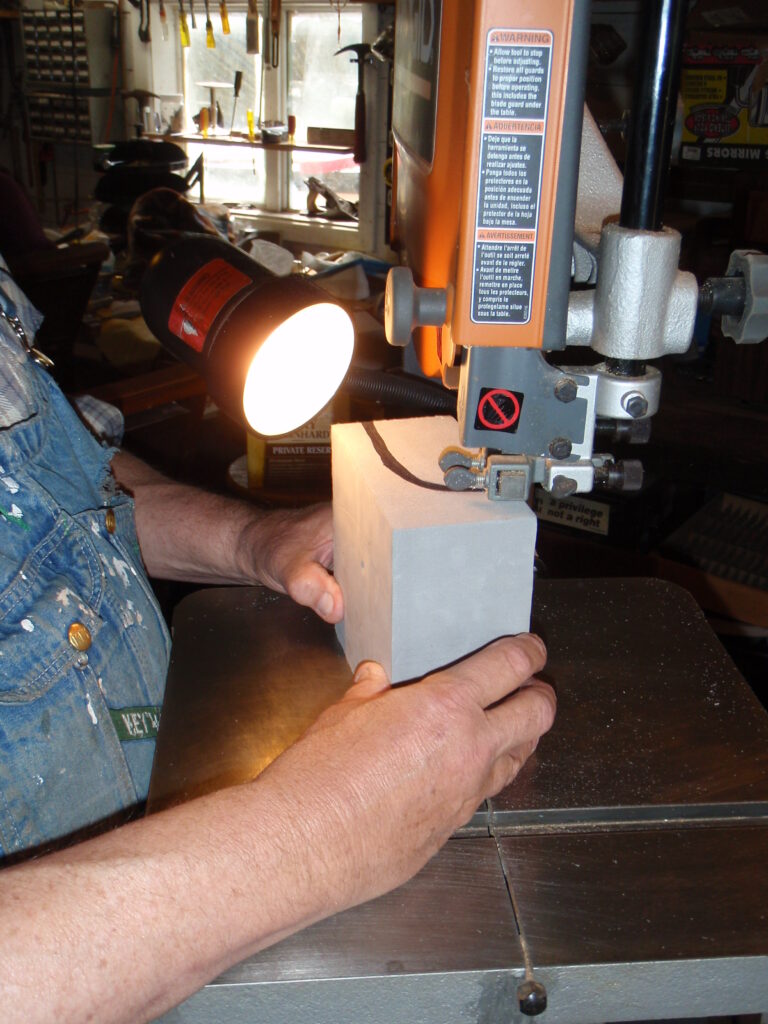
Foam Ankle Supports for C-1
Anyone who has spent time in a C-1 knows that a bit of extra comfort can go a long way. Using minicell foam and a few basic tools, these ankle supports can be created. The tools used for this are a saw to cut the blocks to size. A rasp to create a bit of a contour in the foam. Some sandpaper to clean up the foam. Contact cement works well for the adhesion. I like to use a respirator when working with the contact cement. Tools for the custom job. Once you have the supports made to your liking, place them in the boat and get in it to see where to place them. Use a pencil to mark the right spot for your body. These block greatly improved my comfort level in this boat. Here’s the finished product before the glue-in. Close up on the shaping.